Using Jupyter Notebook with VSCode
Abstract: This article shows how to run ZEISS INSPECT Python scripts interactively in Jupyter Notebook with VSCode. For this purpose, the Jupyter Extension for Visual Studio Code is used. The Jupyter extension simplifies setting up a virtual Python environment for Jupyter Notebook and adds some convenience for editing and running Notebooks. The ZEISS INSPECT API wheel must be installed in the virtual environment from the VSCode terminal.
Setup
Creating a virtual Python environment
Create or open a Notebook
A. Create a new Notebook from scratch
Create a new folder for your Notebook and add it to your VSCode Workspace
From View ► Command Palette… (
Ctrl+Shift+P), select ‘Create: New Jupyter Notebook’
B. Open an existing Notebook
Open a Notebook using File ► Open File… (
Ctrl+Shift+O) or select a Notebook from your VSCode Workspace
Create a virtual environment
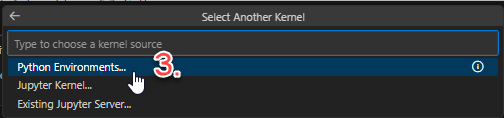
Select Kernel
Select Another Kernel…

Python Environments…
+ Create Python Environment
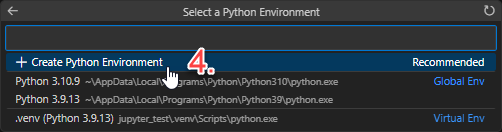
Venv

Wait until the virtual environment has been created…
Test running Python code in your Notebook
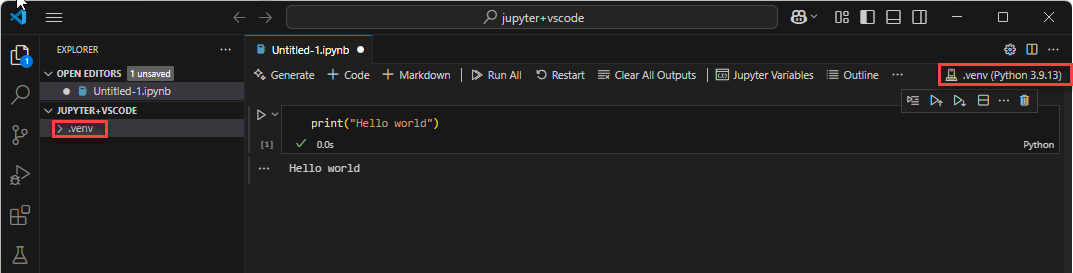
The virtual environment is shown in the VSCode Explorer and in the Notebook editor.
The Python cell was executed and its output is printed below the cell.
Install the
zeiss-inspect-apiwheelOn the
.venvfolder in the Explorer, select RMB ► Open in Integrated Terminal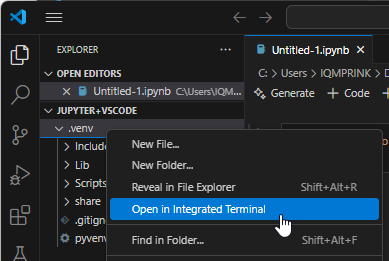
In the Terminal, activate the virtual environment and run
python -m pip install zeiss-inspect-api==2025.*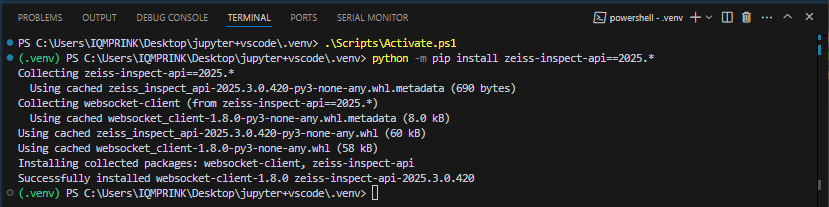
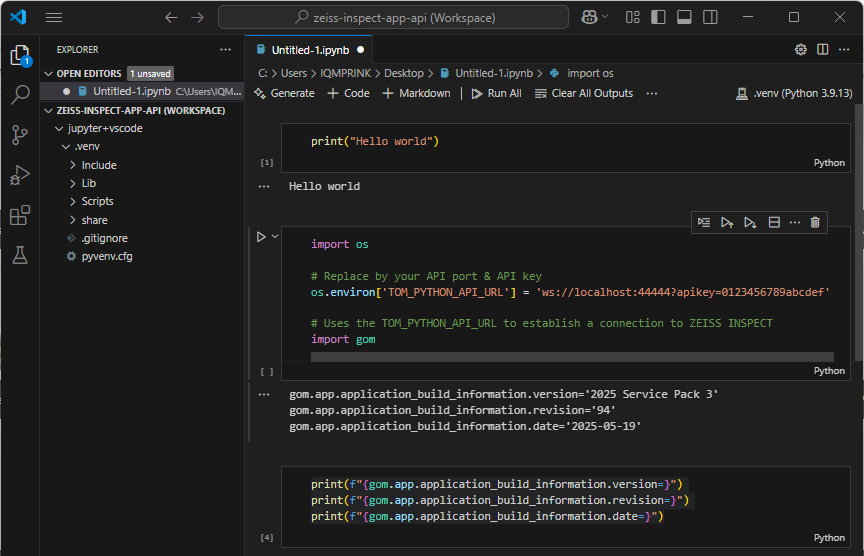
Add a cell for configuring the connection to ZEISS INSPECT
import os

# Replace by your API port & API key
os.environ['TOM_PYTHON_API_URL'] = 'ws://localhost:44444?apikey=0123456789abcdef'

# Uses the TOM_PYTHON_API_URL to establish a connection to ZEISS INSPECT
import gom
Test running API commands
print(f"{gom.app.application_build_information.version=}")
print(f"{gom.app.application_build_information.revision=}")
print(f"{gom.app.application_build_information.date=}")